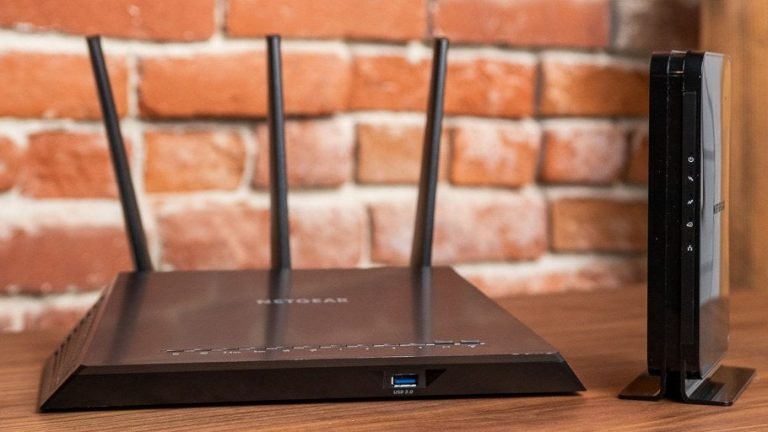
Have you brought a new Netgear extender but don’t know how to install it without facing errors? If yes, then this guide will help you in a lot of ways. Here we will tell you how to do Mywifiext setup by following the right steps. After unboxing the wifi range extender, the very first thing that you need to do is to plug it in a reliable power socket so that the LED lights on the same blink out. You will find that there will be the existence of multiple colored lights on the extender and each of them has a different meaning.
On one hand, the red light will show the error in the connections you established whereas the green light means that you have established the connections well and you can proceed further in this process. Once you see the appearance of green lights on the extender, you can follow the simple instructions to configure your extender in a few seconds to log on to mywifiext.net
How Can You Say It Is Ready To Connect To Mywifiext Setup?
Yes, it is a big question for all the new users who are using the extender for the very first time. Well, the process is not that tough as all you need is to look for at least 1 solid green light on your extender. This is a clear signal that the extender is connected successfully and you can proceed to further steps.
How Do You Know That The Range Extender Has Been Configured?
Yes, it is another query. If all the lights on the extender blink in solid green color, then it means that the Netgear extender has been successfully configured.
Unable To Connect To mywifiext.net Setup Page – Why?
Many times, it can be seen that the error message will pop out and you will see a message that you are unable to go to mywifiext.net. There can be a number of reasons behind that but at this point; you need to look for some of the following things:
- The power light on the extender needs to be blinked out in solid green color. This thing works for almost all the extenders except some of the higher models of Netgear extenders. You need to check out the required information if you lie in such a case.
- Make sure you have placed the extender and the router in the same room so that a better connection can be established between both devices.
- If you are establishing a wired connection, then make sure that you are using a reliable Ethernet cable that is not damaged and works properly.
- In case, you are still facing issues while working with the extender, then it is recommended to unplug the extender for 30 seconds and wait for a while. Plug it back in and see the changes. Repeat the steps mentioned above once the extender is powered up.
In conclusion, there are two main methods through which you can hook up the extender is powered up. The first one is to use the WPS button and go for Wi-Fi Protected Setup and the next one is manually through Mywifiext local setup. It’s up to you which type is suiting you and what are your requirements. Choose wisely!