Do you have some cool designs you’d love to see come to live? Or have you had a look at the many etsy and redbubble stores and become interested in printing your own stickers? Are you unsure how to go about all of this?
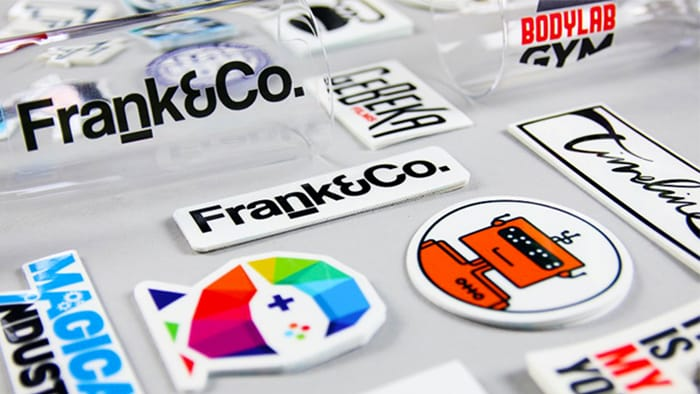
Look no further, we are here to help you print the perfect stickers at home. This article focuses especially on transparent stickers as they can be a little more tricky than your standard paper material.
- Create your design
Your design is the foundation of your sticker. If you are a designer, you probably either have a few ideas lined up and ready to action. If you do not trust your Photoshop skills, we recommend using an online design tool like Canva.
There, you can choose between pre-designed elements and modify them to create your own custom design. This is a great way to let your imagination run wild.
Professional sticker printing companies have several standards around artwork. Knowing these can be super helpful when you are creating your own stickers. If you are designing a label with text and illustrations, create a vector file. These files are made of shapes and lines which makes them easy to scale.
Should you be wanting to print an image, make sure its resolution is at least 300dpi. This stands for dots per inch. Images are made up of little dots, pixels, that can turn blurry when zoomed in. The more pixels there are per inch, the higher the resolution.
- Find the perfect material
This might seem like the most difficult part, but adhesive-backed materials are very easy to get. Simply type “sticker material” into Amazon and be amazed by the offer.
You want to be sure of the features you would like your sticker to have to choose the right material for you. When printing transparent stickers, you can choose between vinyl-based material or an eco-friendly option.
Transparent eco-friendly options can sometimes be a little hard to come by, but they are a great alternative. They are made from sustainably sourced wood pulp but are still incredibly see-through. They are, however, not as resistant as their plastic counterparts and can tear faster in general.
Vinyl-based transparent stickers on the other hand are much more durable. They resist water, sunlight, scratches and chemicals which makes them perfect for hundreds of applications.
- Get printing
Once you know which material is perfect for you, and you have your design ready to go, it’s time to get printing!
A simple desktop printer will do the trick. If you do not own a printer but would like to invest, we have two suggestions for you: The Epson XP-7100 is perfect for entry-level printers coming in at under $300. If you are looking for something a little more professional, have a look at the Canon PIXMA PRO-100S for around $530.
If you want to sell your home-made stickers, it can absolutely be worth investing in a high-quality printer to make sure you can print vibrant colors and great details.
- Cut them to shape
And then it’s time to get the scissors out! Well, depending on which shape you are going for. If you are happy with an easy shape like round or square stickers, you can find pre-cut labels on Amazon. These will arrive on a sheet, ready to be fed to the printer.
Are you looking for a more custom cut? Then you can simply cut them into any shape you’d like using scissors to create your own custom stickers within minutes!
And that’s it, everything you need to create transparent stickers at home. No matter whether you are trying this for the first time or you are already an expert, we would love to see your creations. Please feel free to share them in the comments below.